Silent Strategy Guide
Card Selection List
Cards to focus on


Doesnty Notes
Card Selection Explained
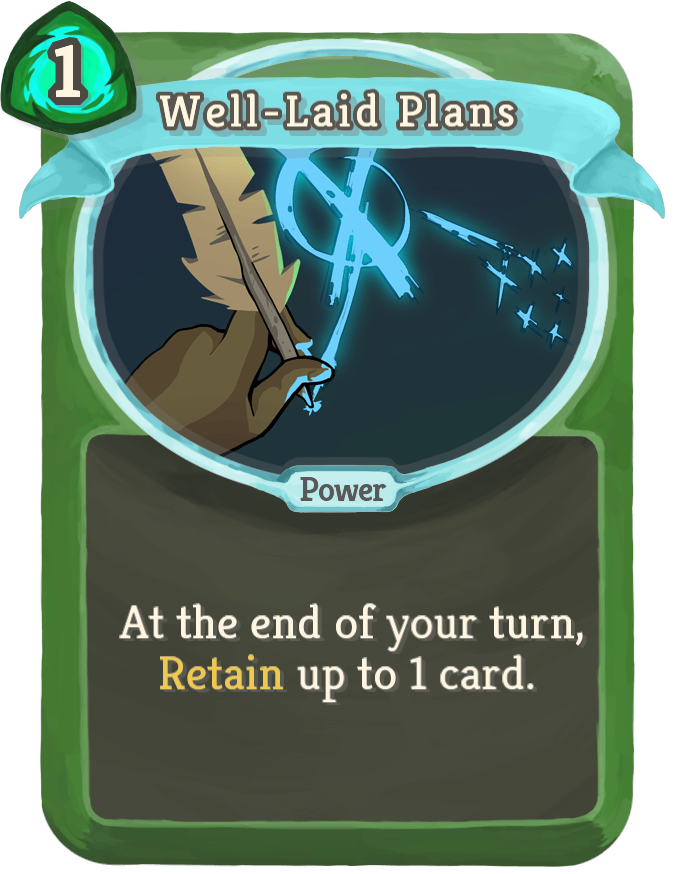
Well-Laid Plans: Complete game-changer. Gives you consistency in long fights. Obviously redundant with Runic Pyramid and in very short hallway fights, which is its only real downside.
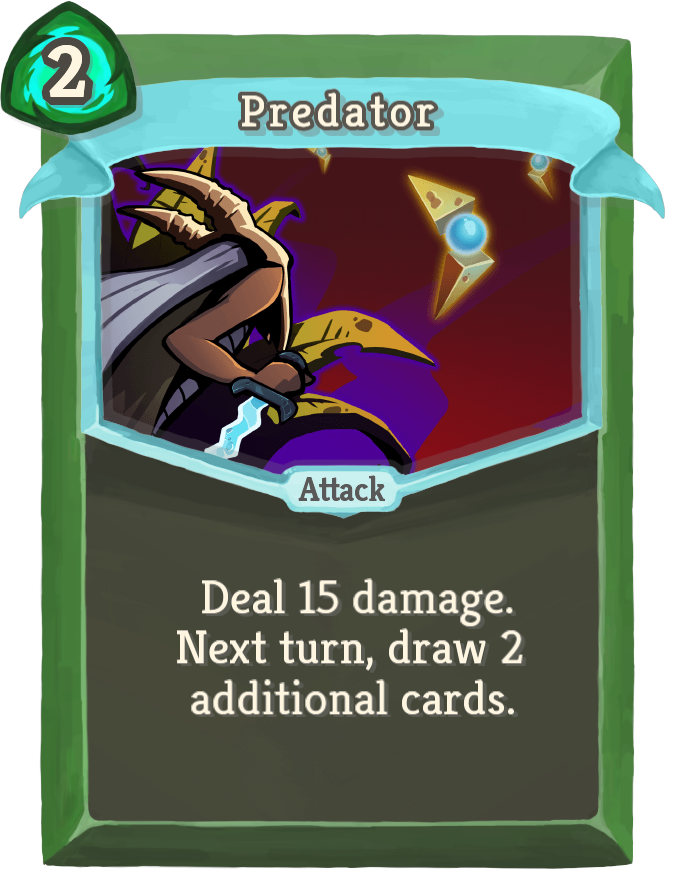
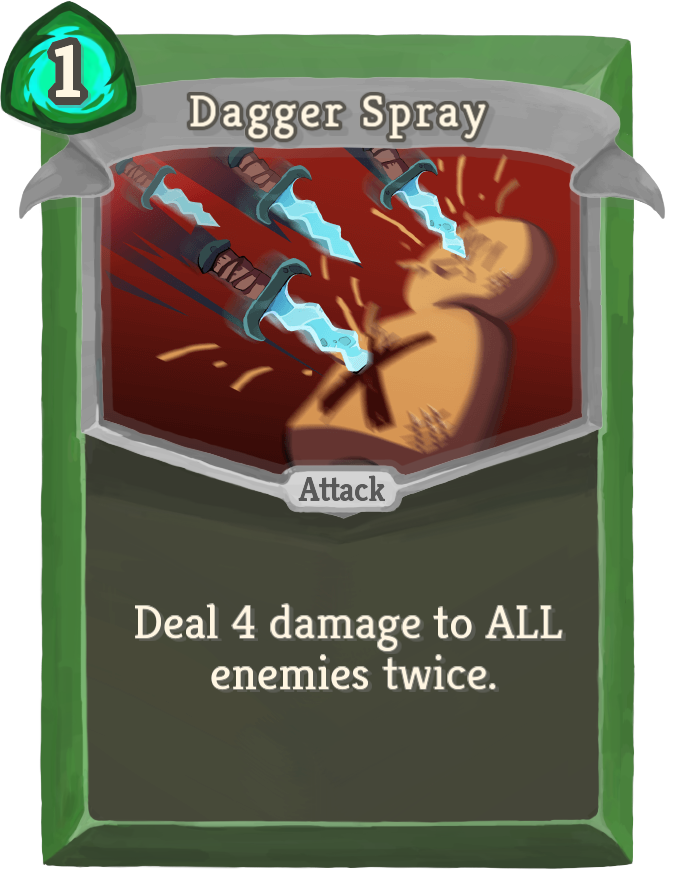
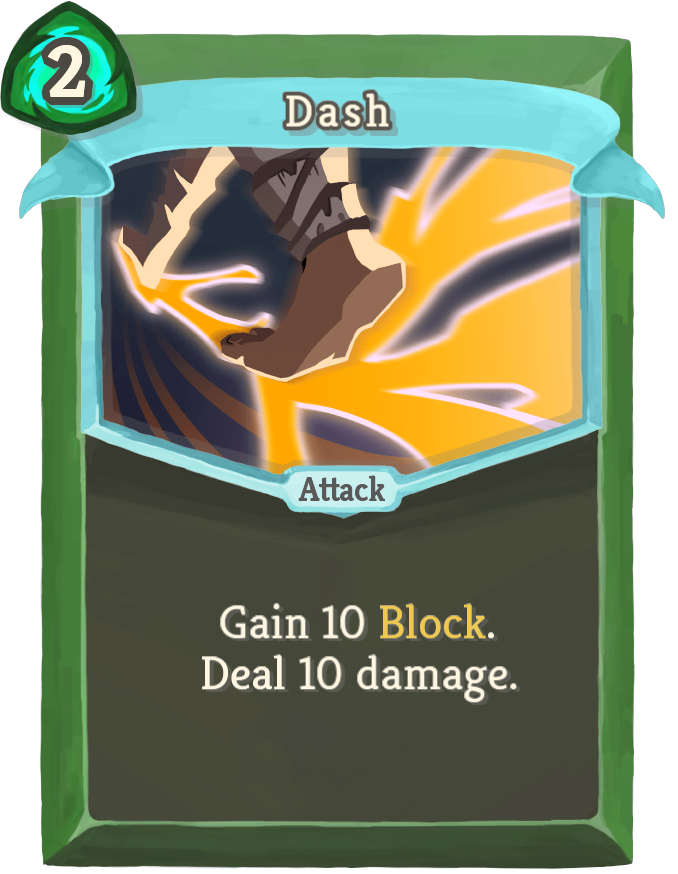
Dagger Spray, Dash, Predator: Early damage picks. Not really deck makers, but they give you a chance against Nob and Sentries.
Wraith Form: Lets you ignore Block for 3 turns. Top priority for upgrading, arguably the best card in the game.
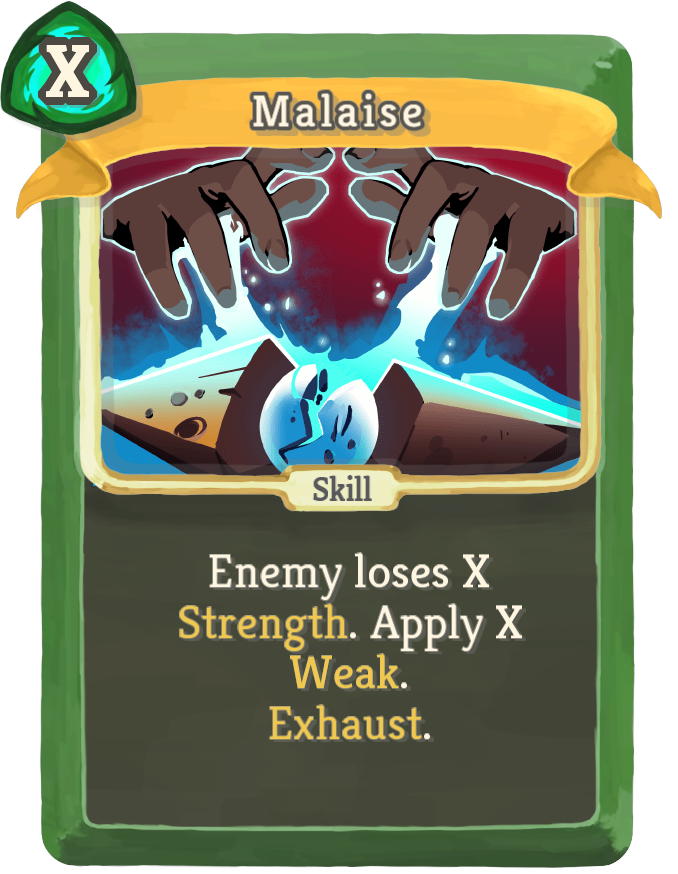
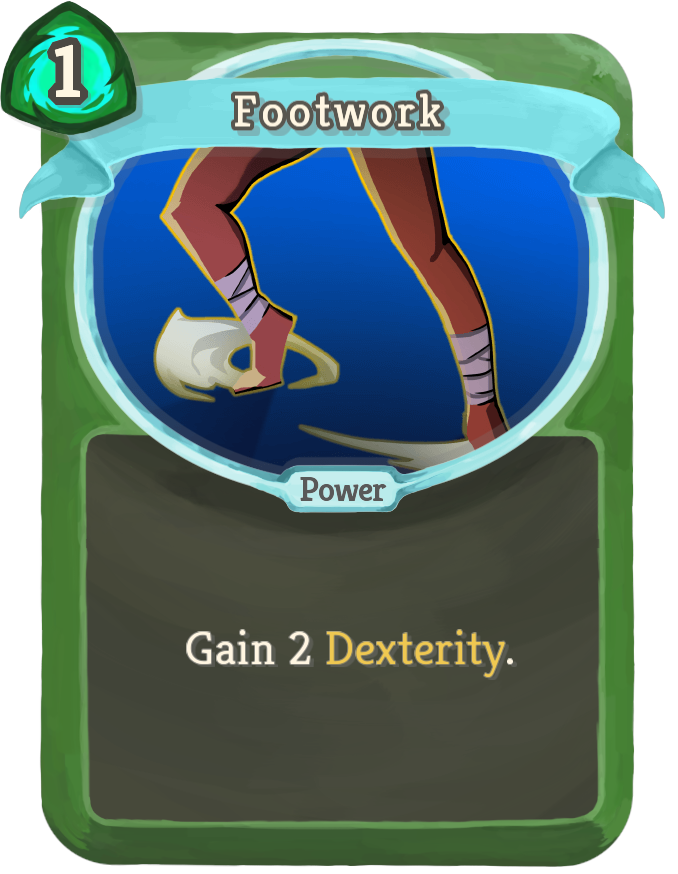
Footwork, Malaise: How you manage defense if you don't get Wraith Form or Apparitions. Dodge and Roll goes especially well with Footwork since it gets the Dexterity boost twice.
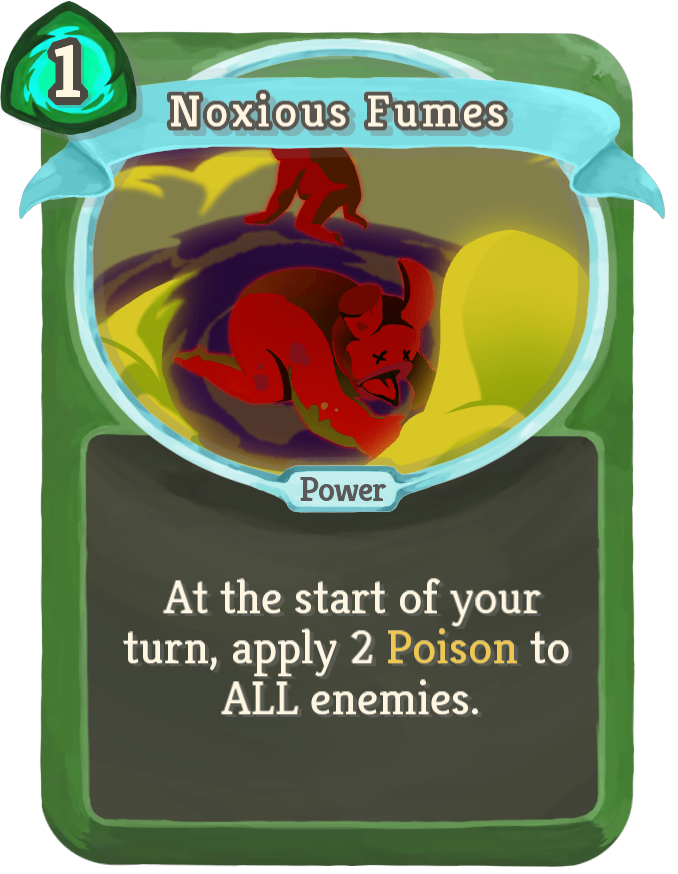
Noxious Fumes: Lets you win most battles if you can hang on long enough, which Silent has a lot of tools conducive to doing.
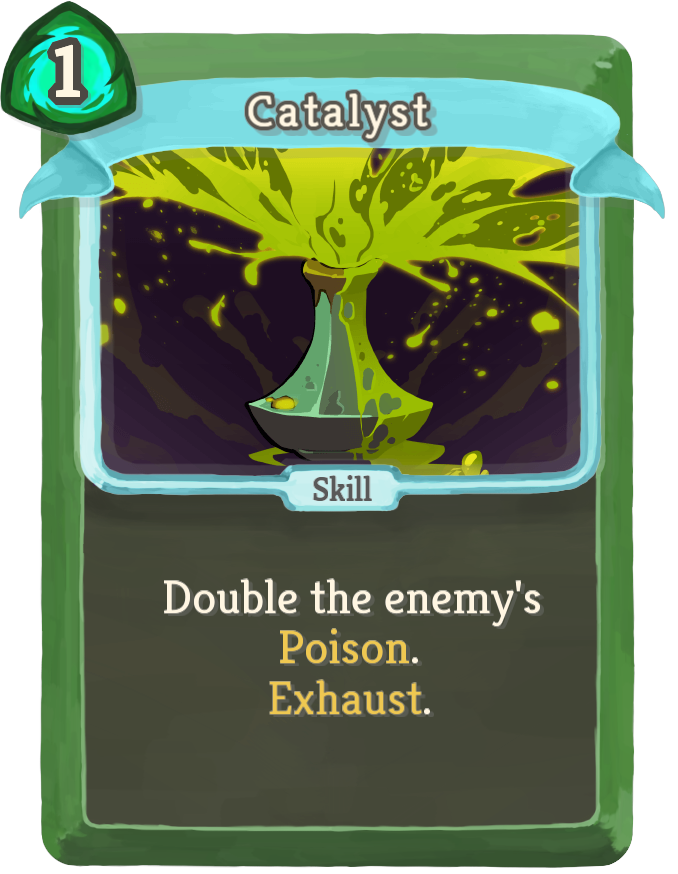
Catalyst: Lets you win fights by abruptly getting huge poisons on stuff. Don't be too patient with it.
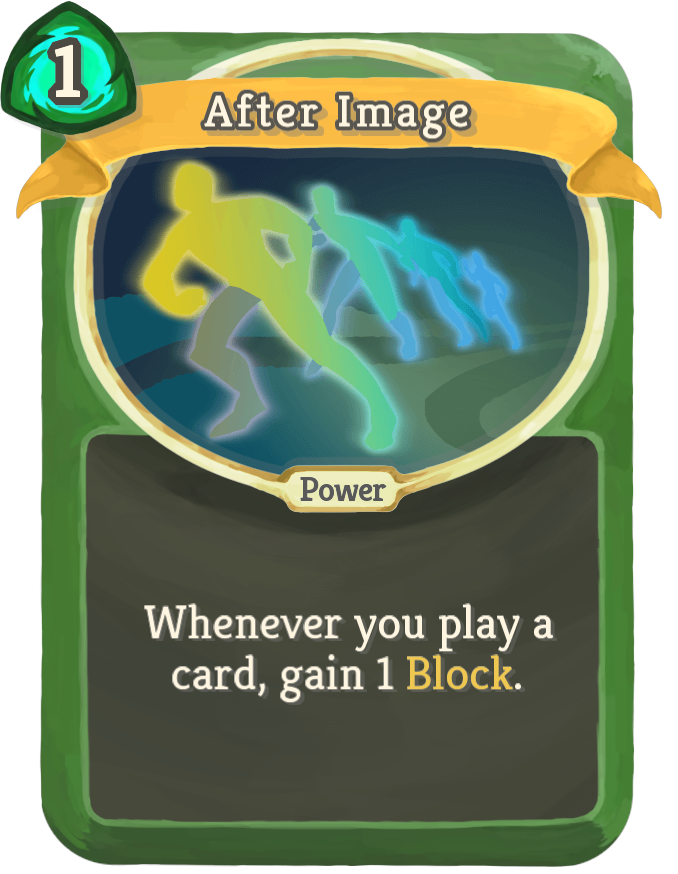
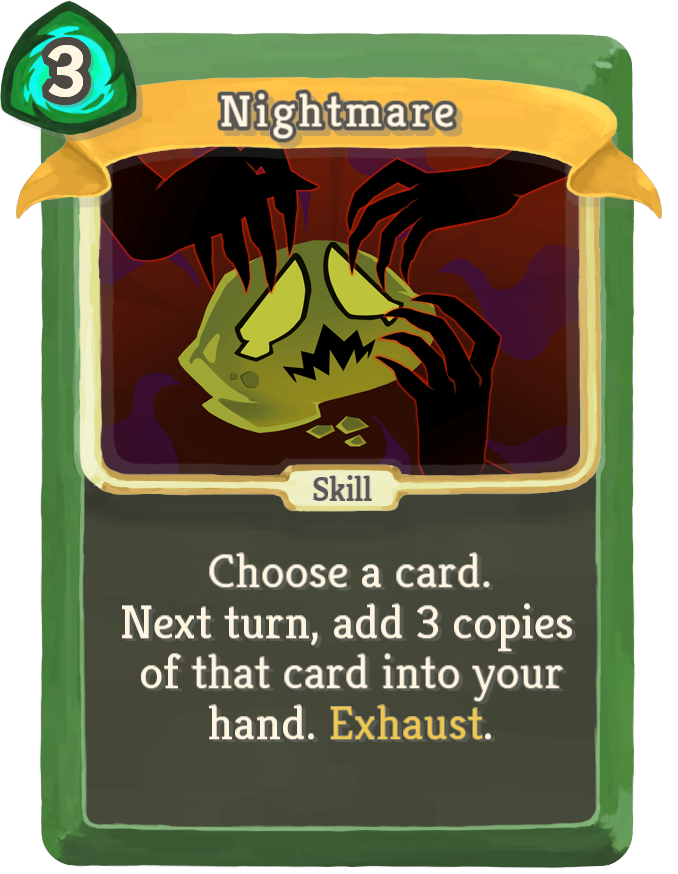
Nightmare: Makes a lot of other tamer cards super busted. Notable Nightmare targets: Catalyst, Wraith Form, Footwork, After Image, Malaise, Alchemize, Noxious Fumes, most cards if they roll 0 on Snecko Eye.
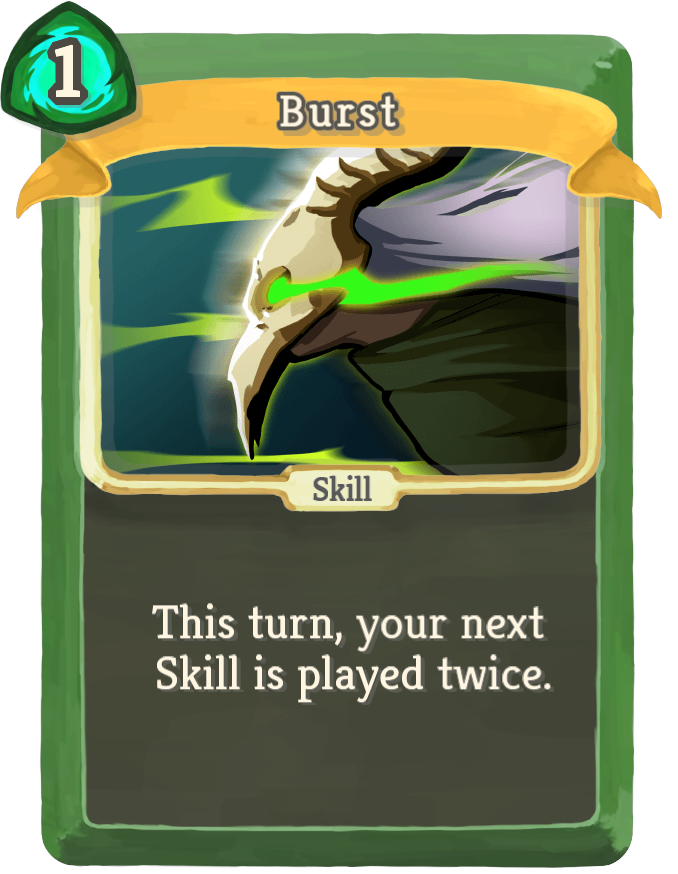
Burst: A more immediate but less abusive Nightmare. High value upgrade.
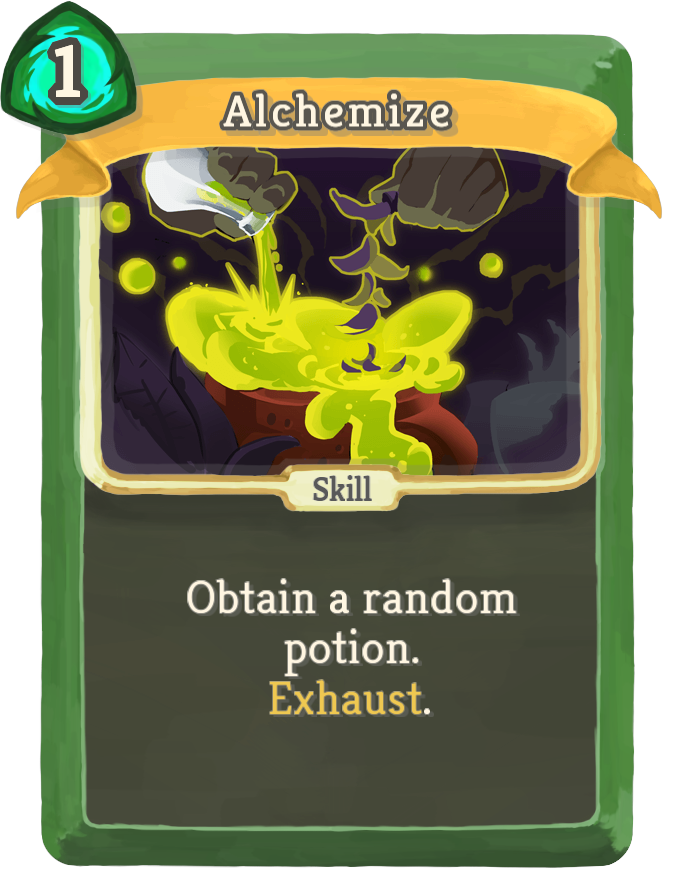
Alchemize: Really, really good card, even with the small belt. Don't hang onto potions too much.
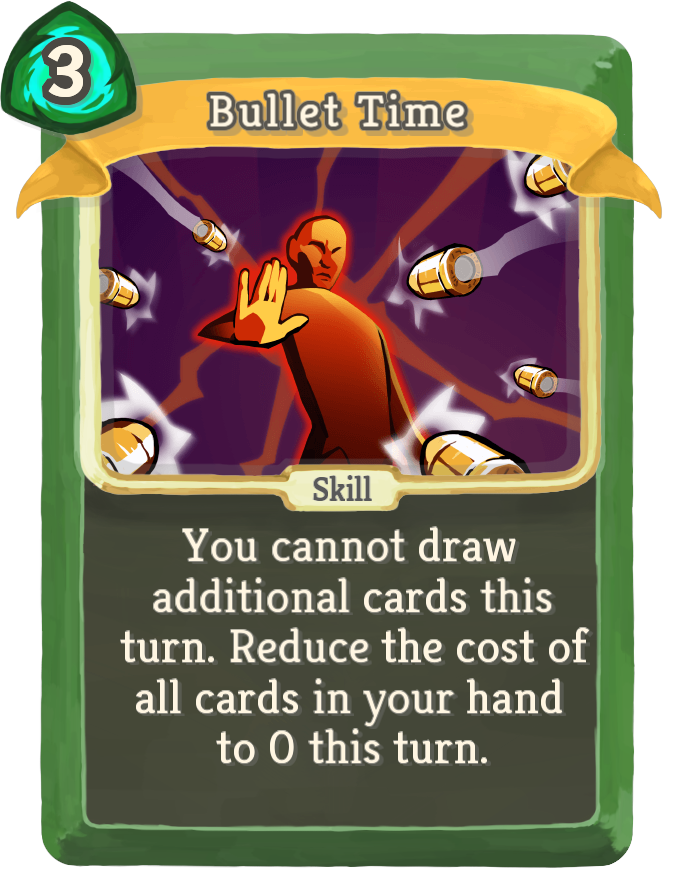
Bullet Time: Makes energy less of an issue. Broken with Snecko Eye.
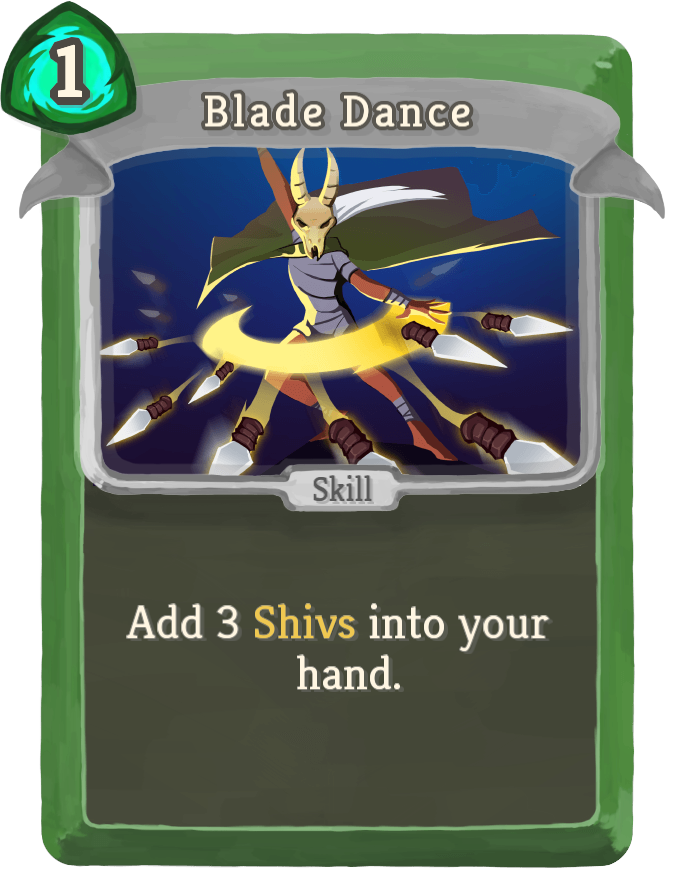
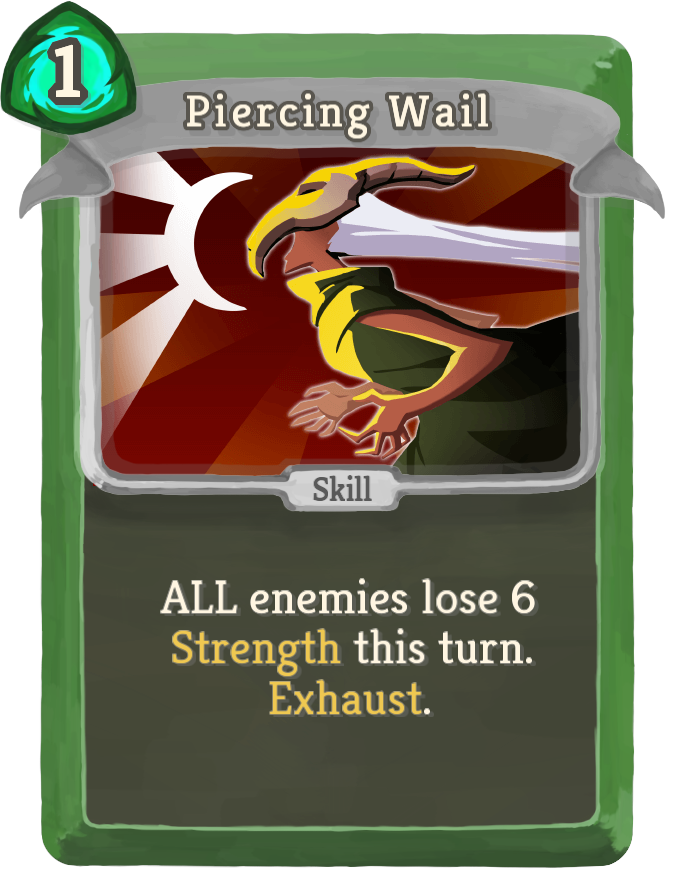
Blade Dance, Backflip, Cloak and Dagger, Piercing Wail: Generally good common cards.
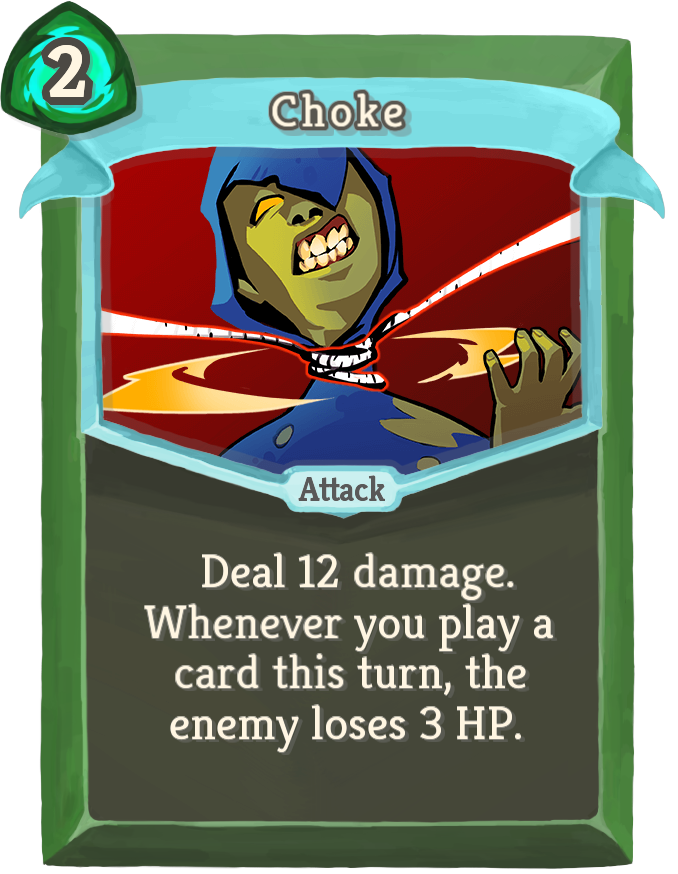
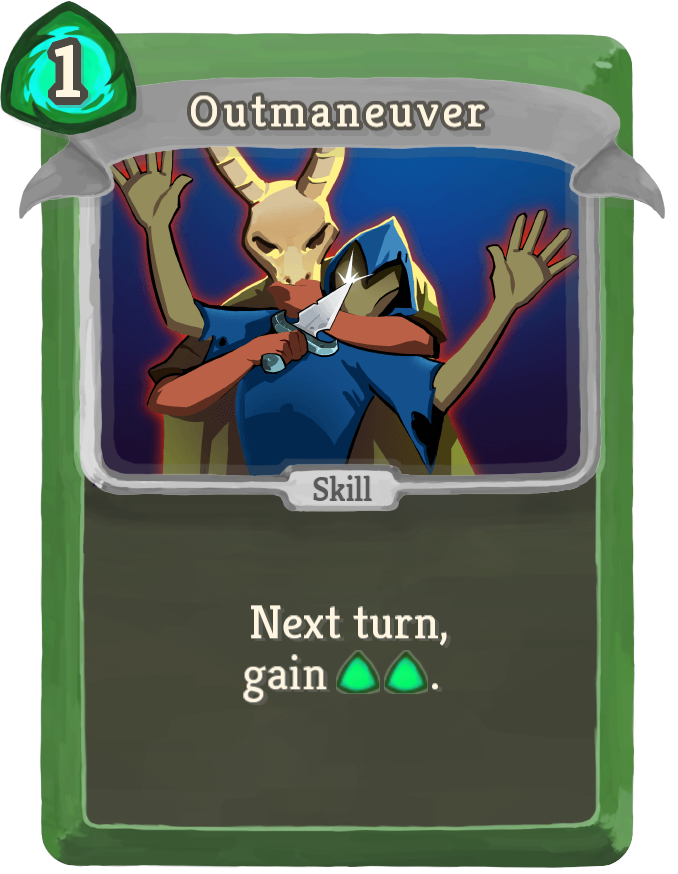
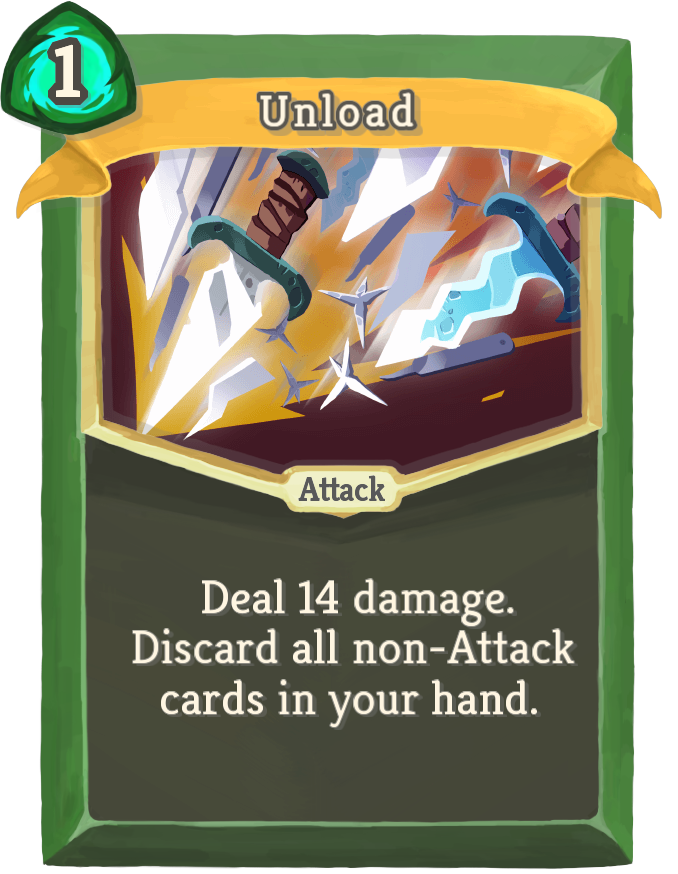
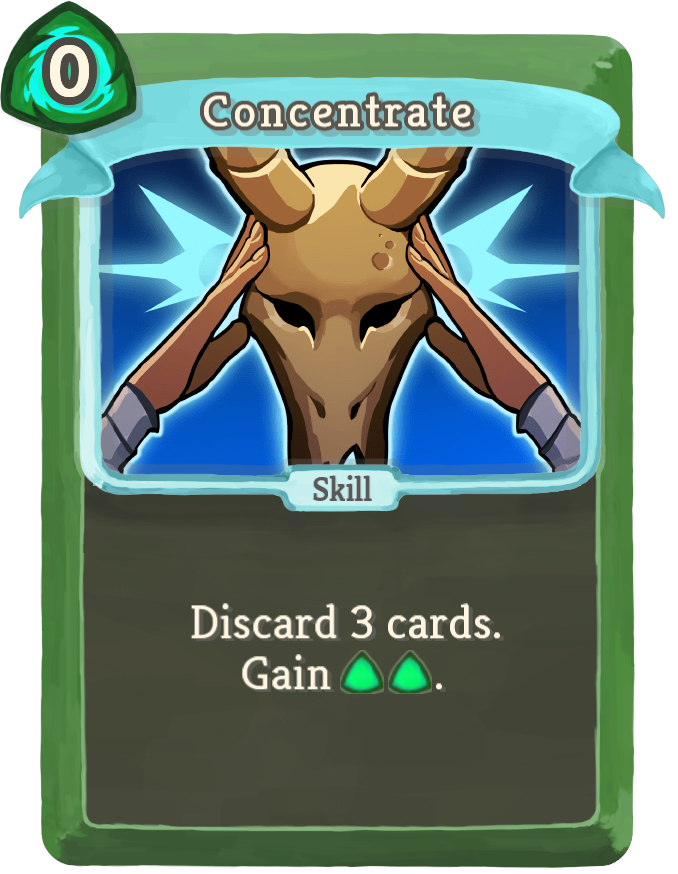
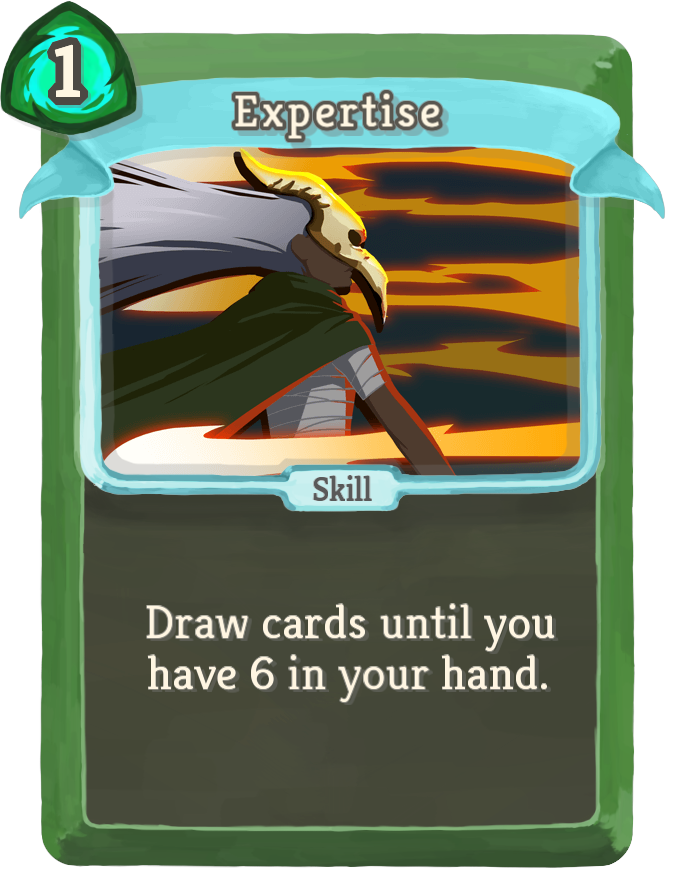
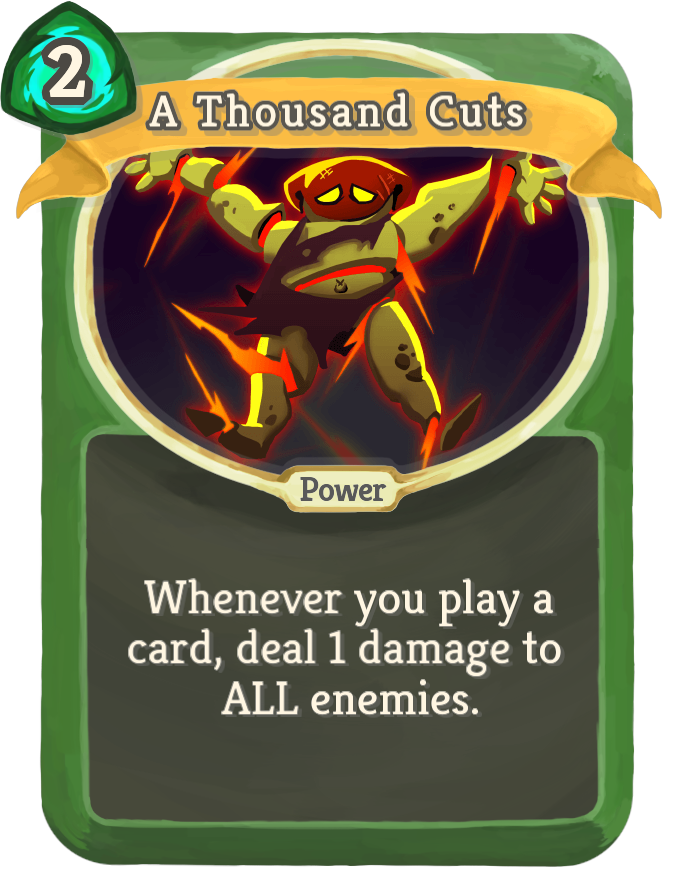
Generally mediocre cards IMO: Accuracy, Choke, Outmaneuver, Unload, Concentrate, Expertise, A Thousand Cuts.
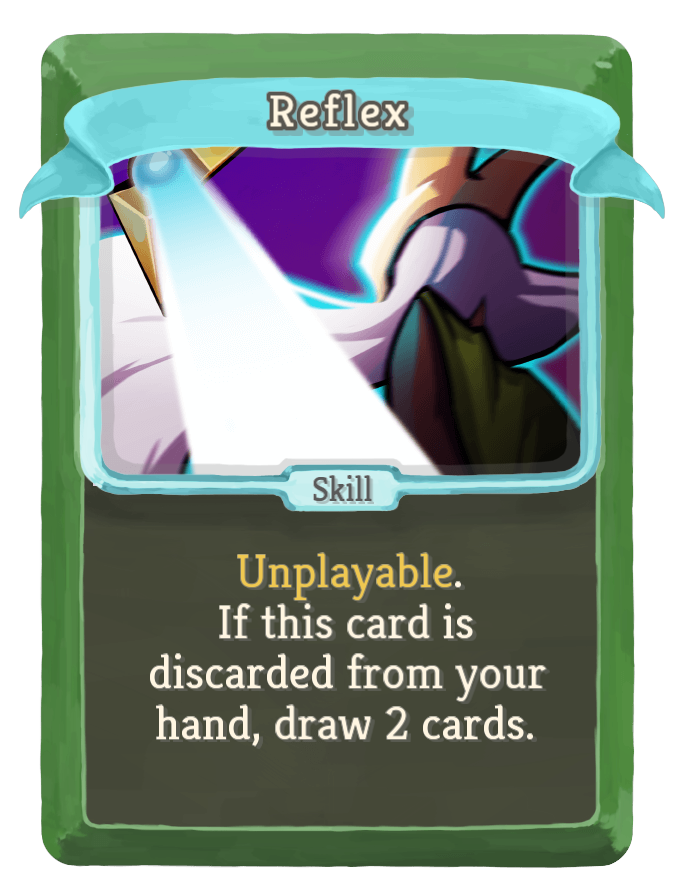
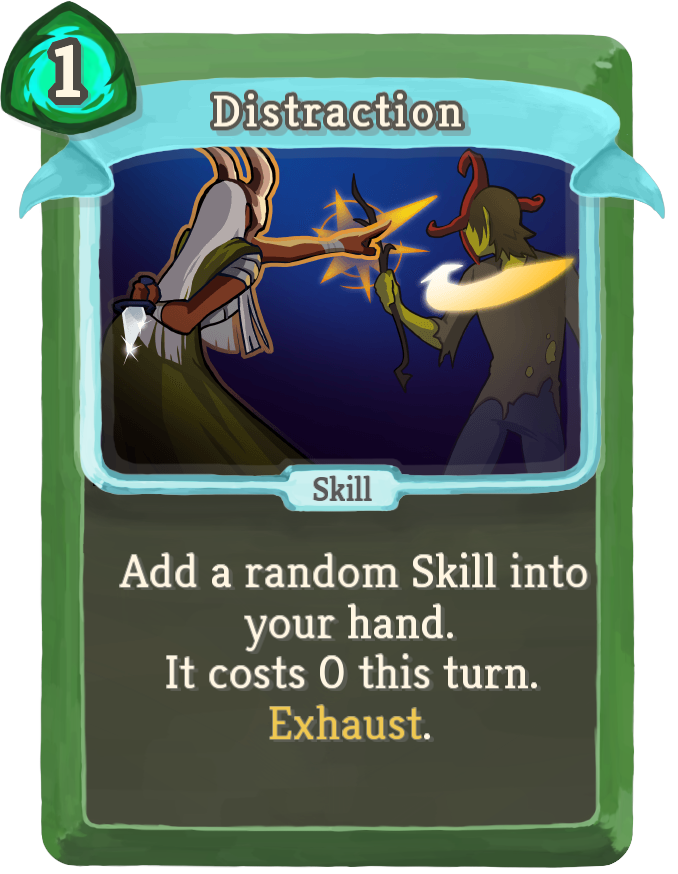
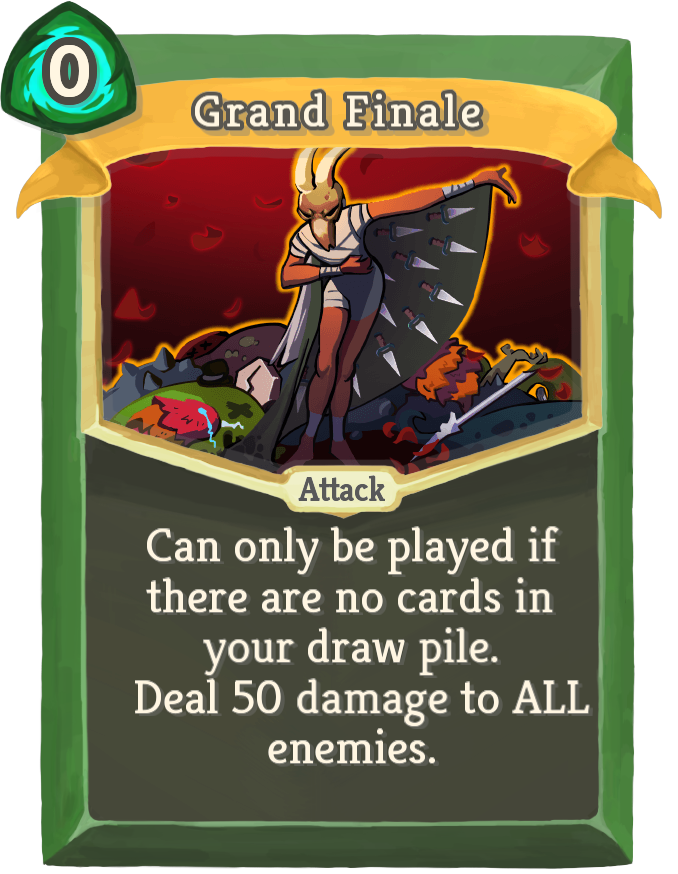
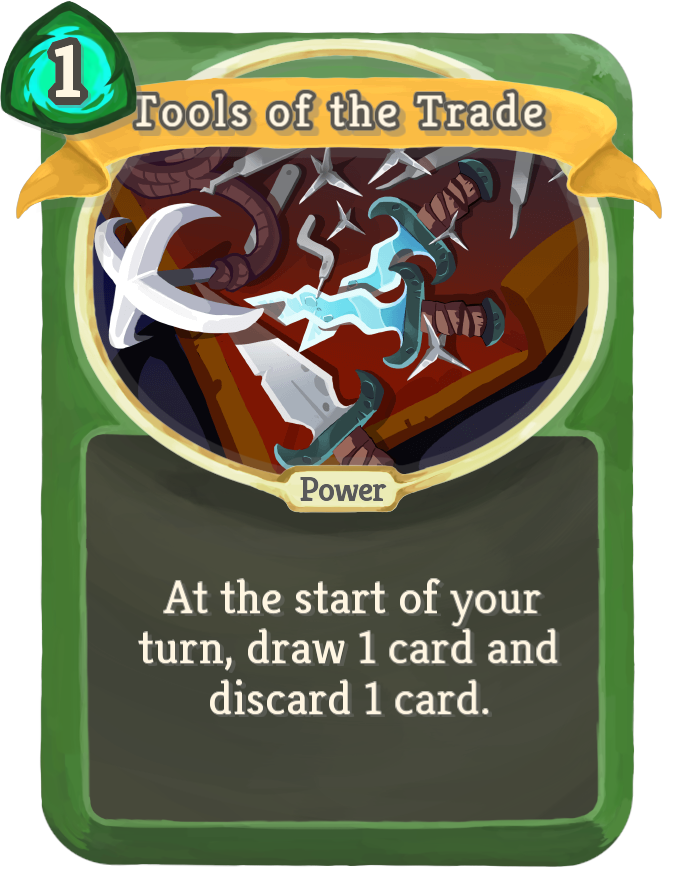
Generally terrible cards: Tactician, Reflex, Distraction, Grand Finale, Tools of the Trade.
Hard shiv isn't the best strat for Silent because of Time Eater, but it is possible to overcome him if you're not all-in on shivs. Once you get to A20 there's a 2/3 chance a Time Eater will appear in endgame, so make sure you have some value cards.